Starlink has revolutionized the way we connect to the internet, especially in remote and underserved areas. If you’ve recently acquired a Starlink kit and are eager to get started, this guide will walk you through the setup process step by step.
Getting to Know Starlink
Starlink is a satellite internet constellation developed by SpaceX. It aims to provide high-speed, low-latency internet access to users around the world. The service utilizes a constellation of small satellites in low Earth orbit, making it an ideal solution for locations with limited traditional internet infrastructure.
Unboxing Your Starlink Kit
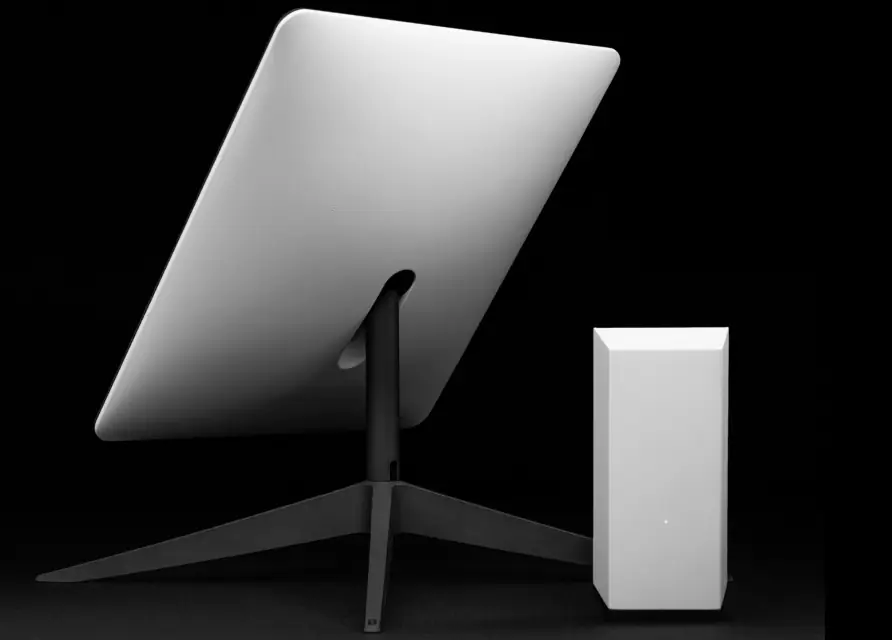
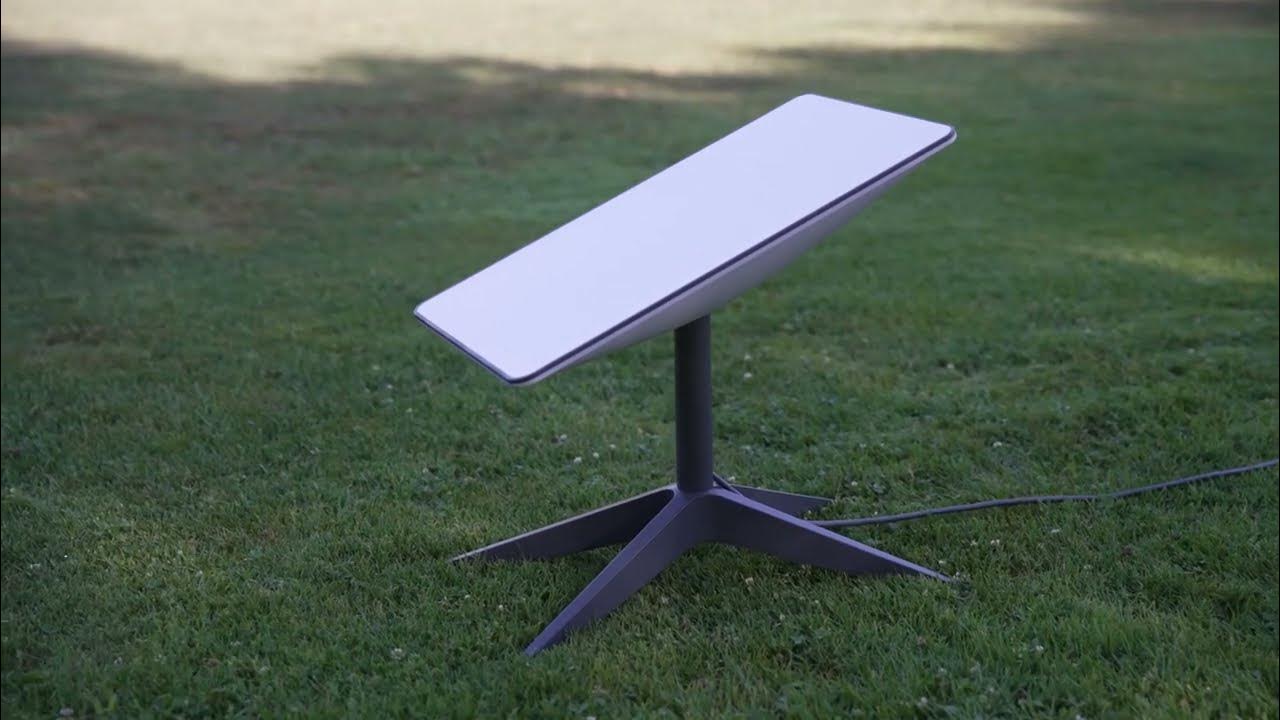
When you receive your Starlink kit, you’ll find a satellite dish, a router, power cables, and a mounting tripod. Begin by identifying a suitable location for the dish, ideally with a clear view of the sky.
Step 1: Setting Up the Satellite Dish
- Locate an Unobstructed View: Place the mounting tripod in an area with a clear, unobstructed view of the sky. This ensures optimal satellite signal reception.
- Assemble the Dish: Follow the instructions to assemble the satellite dish. Connect the dish to the mounting tripod securely.
- Connect Cables: Attach the cables to the back of the dish, ensuring a snug fit. These cables will connect the dish to the router and power source.

Step 2: Connecting the Router
- Power Up the Router: Plug the router into a power source and turn it on. Wait for the indicator lights to stabilize.
- Connect Devices: Use an Ethernet cable to connect your computer or other devices to the router. Alternatively, you can connect wirelessly by locating the Starlink network in your device’s Wi-Fi settings.
- Configuring Settings: Access the router settings through a web browser by typing the provided IP address. Follow the on-screen instructions to configure your network settings.
Step 3: Activating Your Starlink Account
- Visit the Starlink Website: Open a web browser and go to the Starlink website. Log in to your account or create a new one if you haven’t already.
- Enter Kit Details: Input the details of your kit, including the serial numbers of the satellite dish and router.
- Payment and Activation: Complete the payment process if required and activate your Starlink service. Once activated, your internet connection should be live within a short period.
Can I move my Starlink kit to a different location?
Yes, you can relocate your Starlink kit to a different location. However, it’s important to ensure the new location has a clear view of the sky to maintain a stable satellite connection.
What is the expected internet speed with Starlink?
Starlink promises internet speeds ranging from 50 Mbps to 150 Mbps, with latency as low as 20 milliseconds. Actual speeds may vary based on factors such as location and network congestion.

Is there a monthly data cap for Starlink?
As of now, Starlink does not have a strict monthly data cap. Users may experience slower speeds during peak times or if they exceed a certain usage threshold, but there is no traditional data cap in place.
Can I use Starlink for gaming and video streaming?
Yes, Starlink is suitable for gaming and video streaming. The low-latency and high-speed capabilities make it a reliable option for online activities that demand a stable and fast internet connection.
How does Starlink handle inclement weather?
Starlink is designed to work in various weather conditions, including rain and snow. The satellite dish is equipped with a heating system to prevent snow and ice buildup, ensuring continuous service.
Conclusion
Setting up Starlink is a straightforward process that allows you to enjoy high-speed internet even in areas with limited connectivity options. By following the steps outlined in this guide, you’ll be on your way to experiencing the benefits of satellite internet with Starlink. As technology continues to advance, solutions like Starlink play a crucial role in bridging the digital divide and connecting people worldwide.

